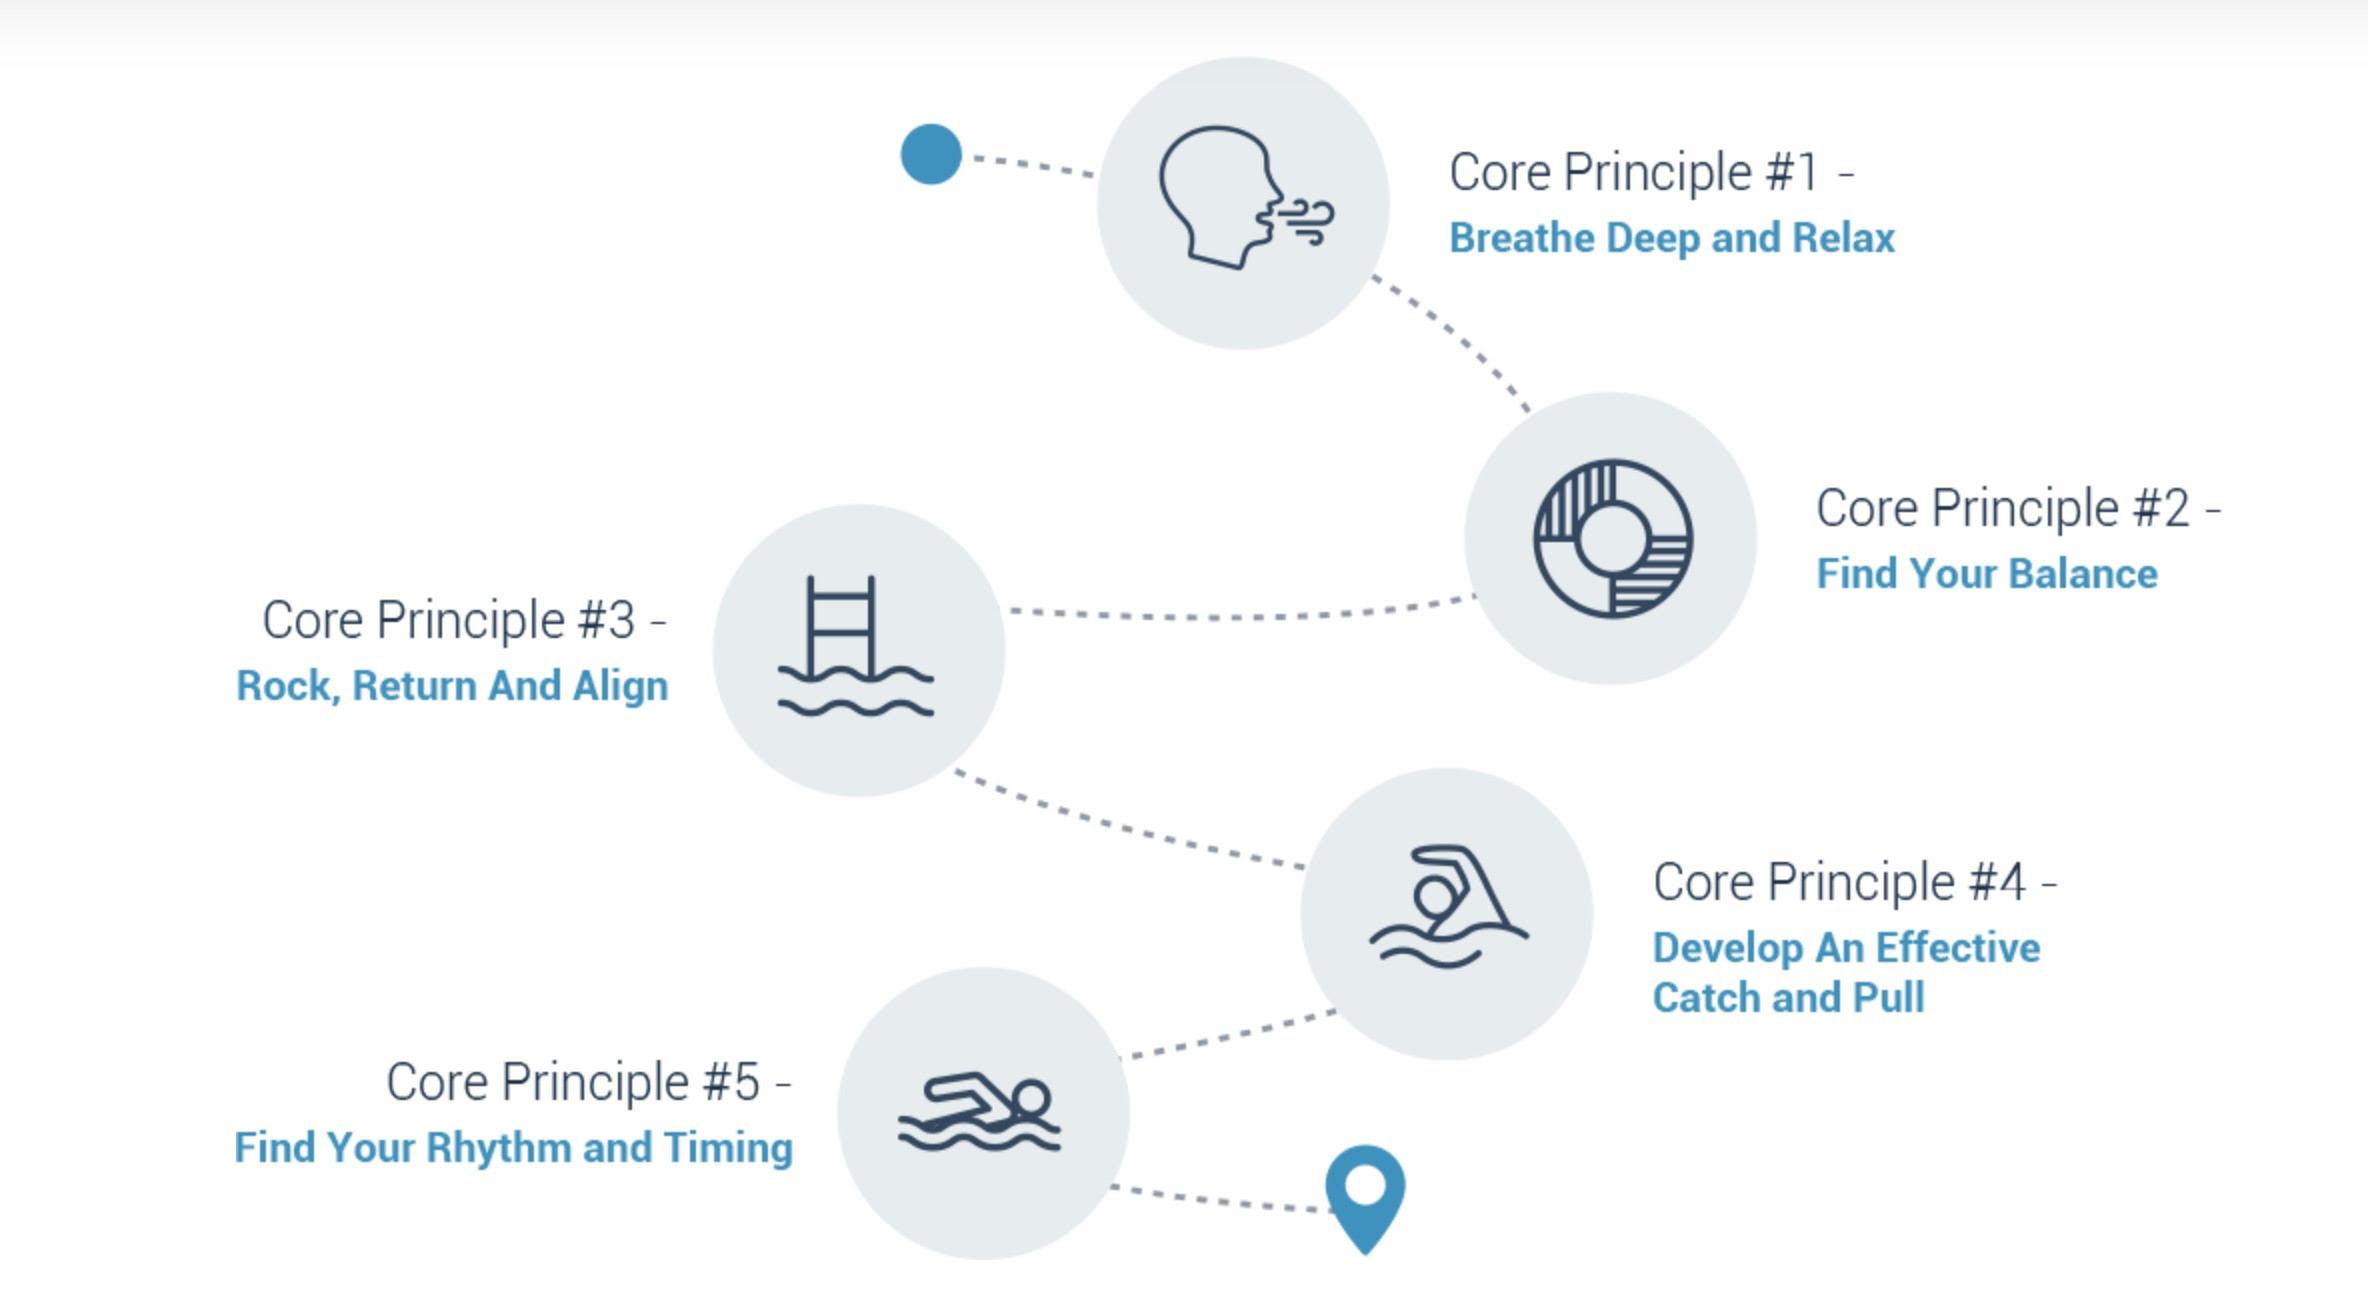
#1 – Breathe Deep And Relax
In this first principle, your goal is to breathe using your diaphragm while being calm and relaxed in the water. Your diaphragm is a dome-shaped muscle located at the base of your lungs. Using your diaphragm requires less effort and energy to breathe and decreases the oxygen demand. Your shoulders, chest and upper back will relax allowing you to be more powerful in your propulsive movements. It will engage key ‘core muscles’ that will enhance your ability to perform dynamic movements with more power and greater technique. These muscles are the same muscles that help stabilise the trunk, lower back and pelvis. Without this people tend to feel short of breath, which makes it difficult to float and find your balance. Take on a ‘proud’ posture where your sternum is lifted and your chest is puffed out. Straighten your spine and imagine your head being pulled up from above. When you inhale ‘go low’ ie, breathe into your belly. This allows greater uptake of oxygen, lowers anxiety and enhances your breathing rhythm. On your exhale ‘let go’, where you’ll blow out your air which helps eliminate waste gases (especially CO2) and the relaxation at the end of your exhale allows for an easier transition from the out-breathe and in-breathe.

#2 – Find Your Balance
‘Find Your Balance’ is about how you’re positioned in the water. The most important thing you can do to swim faster is to minimise drag. Incorrect balance and body position creates a huge amount of drag. In freestyle the aim is to be horizontal, with the top of your head, hips and heels at the surface. There’s three things you’ll develop in this stage that will help you minimise drag:
1. Proud posture
A proud posture involves three things. A lifted sternum, lengthened spine and long neck. If you imagine someone standing proudly with their chest out, confident and belly drawn in…this is similar to how you’ll swim. It allows you to breathe easier, use stronger muscles through your pull and be higher in the water. With your head position, your eyes should be looking within the range of directly down to ~45 degrees in front. We often see pool swimmers looking down or slightly in front and open swimmers and triathletes closer to the 45-degree range. Your neck and spine should be elongated as if something is pulling you directly above your head.2.
2. Taut Core
For you to connect your catch and pull, rotation and kick there needs to be some tautness (tension) through the middle of your body. If your core is like a wet noodle this won’t happen! This involves lightly sucking your tummy in and engaging your glutes (like you’re squeezing your bum cheeks together). It’s a fine balance between enough tension to maintain tautness through the middle of your body and too much that will fatigue you. I like to think of it as just enough tension to hold form and shape and no more.
3. Effective Kick
An effective kick moves a swimmer forwards with the toes pointed and feet turned inwards, with small up and down kicks originating from the hips. For non-elite swimmers, it’s used more for balance and timing than propulsion. An effective kick will stay mostly within the line of your body (ie not big wide kicks). You can bend the legs up to 135 degrees at the knee, but any more than this will be slower because of the increase in drag. Don’t worry about what type of kick you’re using yet (2-beat, 6-beat, etc) this will come in Core Principle #5.
#3 – Rock, Return And Align
Now that you’re breathing comfortably and you’re balanced in the water the next step is rock, return and align. The rotation through your upper body should be more of a rock side-to-side not a roll. Most top swimmers will rotate up to ~45 degrees side-to-side through their shoulders and hips (sometimes a bit less in hips). This helps you increase your distance per stroke and use the stronger more effective muscles through your shoulders, back and core. It will also help you use the serape effect explained in Core Principle #5.
Your hand will return over the top of the water openly (keep the hand away from the body so your shoulder moves freely) and enter assertively (with some speed on entry as opposed to a very gentle entry). Once the hand enters the water and your arm reaches forwards, it should align with your shoulder. So at your furthest point of extension, the hand and arm in front will be directly in line with your shoulder.
#4 – Develop An Effective Catch And Pull
Your catch, pull and press is like the 80/20 of freestyle. It’s the 20% of your stroke that can contribute to 80% of your speed and propulsion. This phase of the stroke is all about what your arms do under the water. An effective catch and pull is sustainable, strong and accelerating. The aim is to have a high elbow catch (see video for explanation), but you don’t need to go the extreme. There are four key positions to move through during this part of the stroke.
1. The Starting Catch Position – When your arm is at full extension in front of you, your fingers should be at armpit depth and be the lowest part of your arm.
2. The High Elbow – This is when your fingers are pointing to the bottom of the pool and your arm should be in a high elbow catch position. If looking from the front your arm will be in angle of 100-120 degrees.
3. The Power Diamond – When you are passing underneath your shoulders, the shoulder, elbow and hand should line up (if looking from the side). Eney Jones calls this position ‘one happy family’. Your arm will make a half diamond shape if viewed front-on.
4. The Exit – Your hand exits just past your hip with your palm facing towards your feet until almost the very end. Your elbow exits the water first.
Power – Think of the catch phase as the setup phase. It shouldn’t be forceful or rushed, your main goal is to set yourself up in a high elbow position to then be able to apply power. The primary muscle used in the power phase (once you’ve got the high elbow position) is the lats, and this can be more than 2x as powerful compared to when your lats aren’t being used. The right posture and alignment will help you do this.
Path Of The Hand – The path that the hand takes during this phase is like a long ‘S’, where it will start in front of your shoulder, move out slightly wider than your shoulder as it passes underneath it and back in towards your hip as it exits the water. Hand Speed – Your hand speed during freestyle isn’t constant, it changes through the different phases of the stroke. Be patient with catch and then accelerate through the pull and press phase. The most important thing in the catch is to get your hand and forearm angled to press back against the water and it’s easiest to do by being a little slower than the rest of the stroke. Once you’re in a high elbow position then you can begin to apply power. An increase in hand speed helps you propel yourself forwards. This can take the most time to develop the muscle memory to sustain it during a race, but of all the things in the stroke it can have the biggest impact on your speed.
#5 – Find Your Rhythm And Timing
The final piece of the puzzle to faster freestyle is the rhythm and timing of your stroke. This is the art of swimming. It’s like a dance where you find a rhythm that allows you to maximise the connection through your body and maximise your efficiency. It changes depending on your pace, event and conditions.
Kick Timing – Coordinate your downkick with your catch on the same side (ie left arm catch, left leg kick). This gives you something to anchor against as you pull and initiates the rotation of your hips. Type of Kick – Your kick can change depending on the speed you are swimming and the type of swimming you do. The three types of kick are 2-beat, 4-beat and 6-beat kick. A 2-beat kick is one kick per arm stroke, a 4-beat kick is one kick on one arm stroke and three on the other arm stroke and a 6-beat kick is 3 kicks per arm stroke. For sprinting and for distances 200m or less most people will use a 6-beat kick. For events more than 200m it’s a personal preference, but it’s common to see many top swimmers use either a 2-beat or 4-beat kick. You can vary this in a race as many swimmers will use a 6-beat kick at the end to sprint the finish. It’s worthwhile practicing the different types and developing your ability to change when needed. It gives you different ‘gears’ to use.
The ‘Serape Effect’ and Hip Drive – If you imagine an elastic band running from your rib cage on one side of your body, diagonally through your core and connecting with your pelvic girdle (hips) on your other side – each time you reach forwards in freestyle there is athletic tension that is built up through this band as the muscles lengthen. It gets released as the muscles shorten to create a ‘snap-back’ effect which produces an effect called the ‘serape effect’ which increases the power you can apply through the pull phase. It’s this connection from one side of the body to the other that provides maximum power and drive through the hips.
Hand Speed – Movements in swimming should be slow to fast. Your reach and catch are somewhat slow compared to the pull and then press phase of the stroke (ie accelerate through the underwater phase of the stroke) and same applies for above the water. Your hand should speed up as it returns over the water.Split Tempo – As you increase your swim speed, a way to maintain your stroke length and avoid ‘spinning the wheels’ is to only increase your arm speed OVER the water. This shortens the stroke cycle (ie faster cadence/turnover) but barely affects the stroke length which is how you swim faster. Your speed is a combination of your stroke length and the duration of a stroke cycle.


